Learn how you create a banner for the front page.
1. Log in to your Storeshop control panel.
2. In the menu bar, go to Settings --> Site builder.

3. Right click on "Forside" and click "New..." 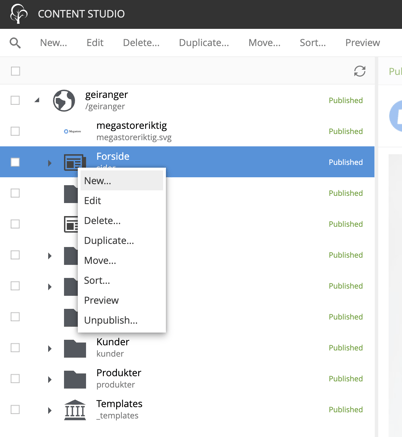
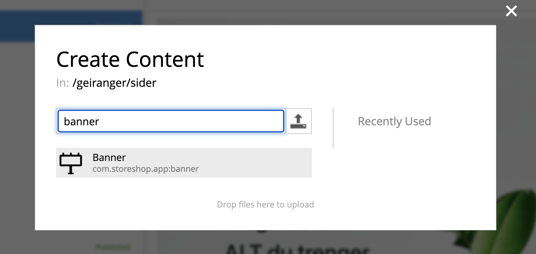
4. Search for "banner" inn the search field, and click "Banner".
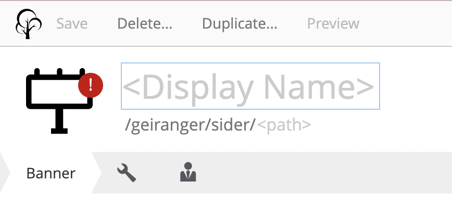
5. Give the banner a name
- Insert <Display Name>. Choose a descriptive name so you can recognize what banner it is in the future.
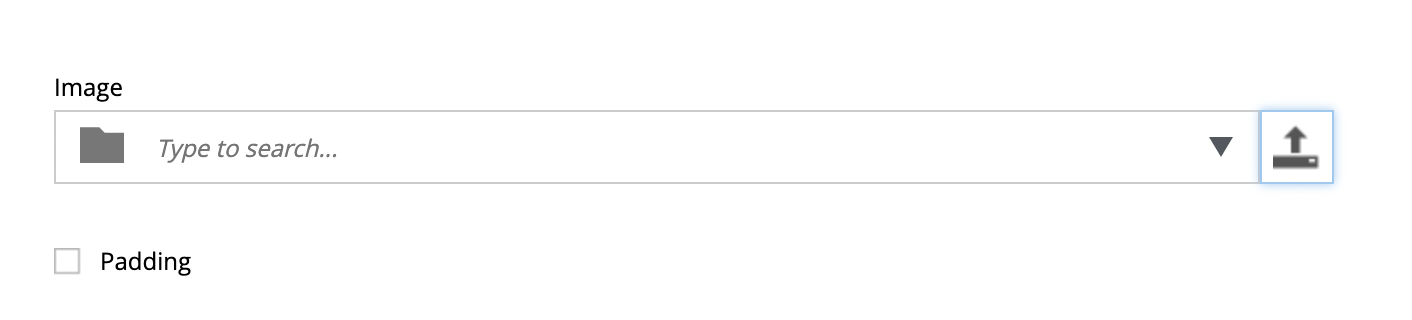
6. Add your image
- Click the upload icon to upload your desired banner image. Check the box for "Padding" if you want to add a white frame around the banner.
7. Add details
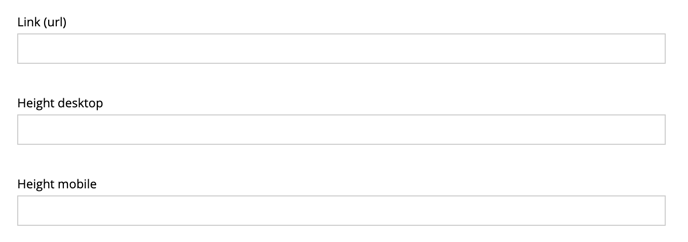
- Add the "Link (url)" for where you want to send the user when they click the banner.
(You could for example send them to your product page). - Height desktop: Type the height you want for your image in pixels. Recommended is 600-700 px.
- Height mobile: Type the height you want for the image in pixels. Recommended is 300-350 px.
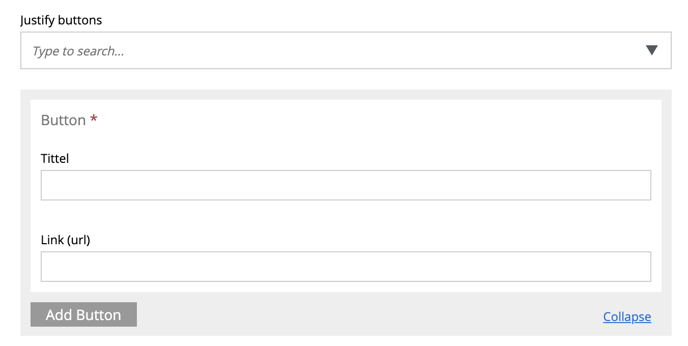
8. Buttons
- Justify buttons: Choose the placement of your button, between Left - Right - Center.
- Tittel: Title for button. For example "See products" or "Shop here".
- Link (url): Link to take the user to your desired location, for example the product page.
9. Second banner
- Click "Add Second banner" to add a new banner and fill inn the same fields as the first banner.
- You can add up to 4 banners. These will be placed next to each other.

10. Publish
-
Remember to click "Publish" to save and publish the changes to your website.
See PART 2 for how to add the banner components to your front page!