Connect SendGrid and Storeshop
Learn how to connect SendGrid and Storeshop
Section 1: Set up account
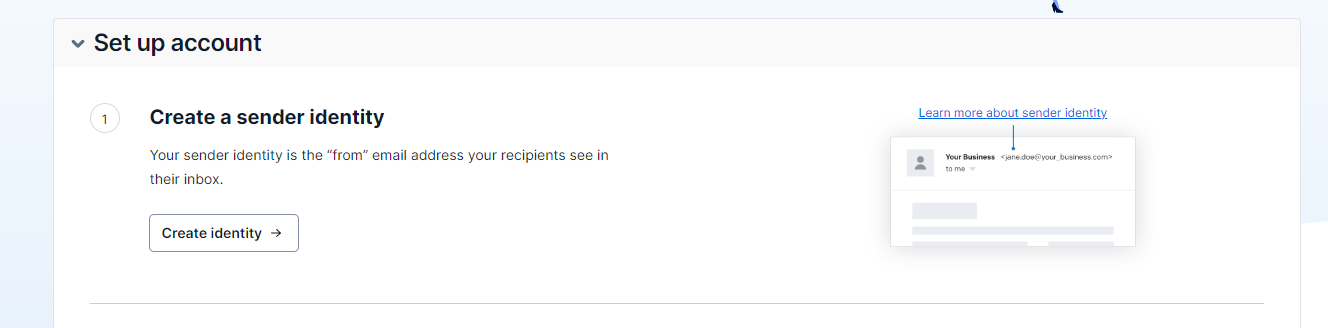
Part 1: Create a sender identity
- Visit the SendGrid website and create your account: https://signup.sendgrid.com/
- Click on "Create identity" to set up a sender email address. For example, you can use "storeshop@storeshop.no" as your sender email.
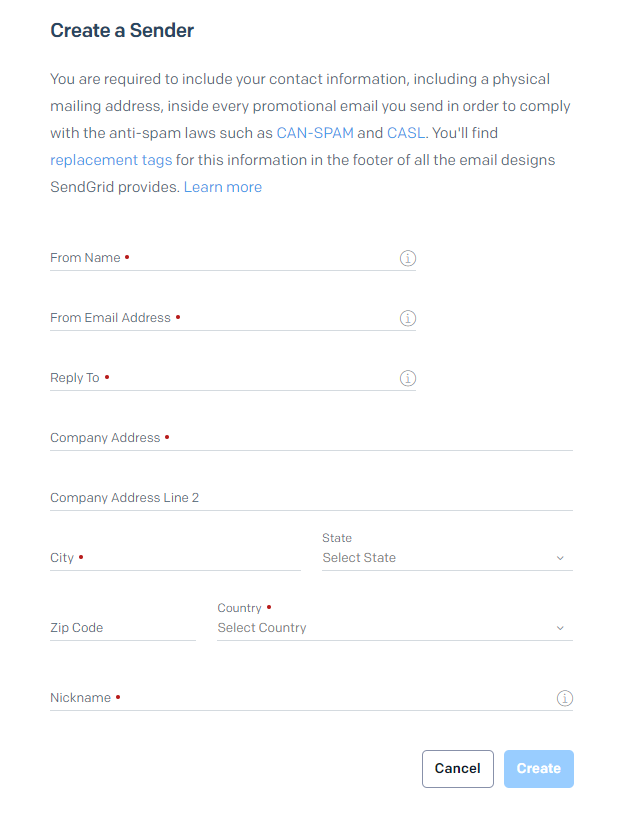
Part 2: Create a Sender
- Fill in the required fields to complete the account setup process. Provide the necessary information to establish your account.
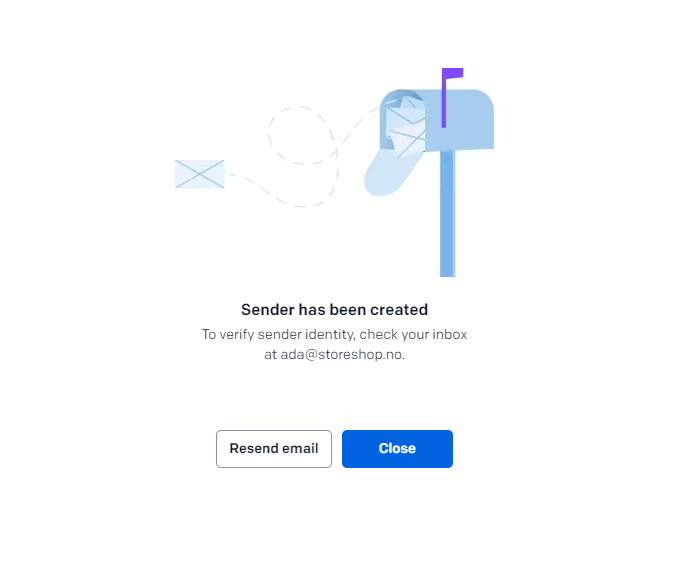
Part 3: Verify the Sender
- After creating your account, you will receive an email from SendGrid to verify your sender email.
- Access your email inbox and locate the verification email.
- Follow the instructions provided in the email to verify your sender identity.
Section 2: Create an API Key
Part 1: Creating an API Key
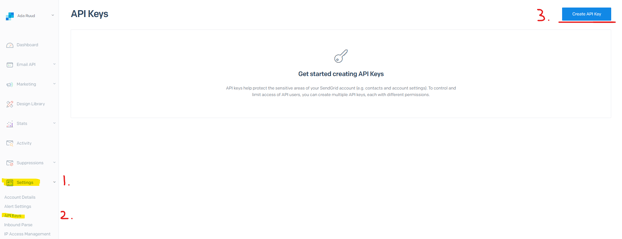
- Once logged in to your SendGrid account, navigate to the "Settings" section in the left menu bar.
- Click on "API Keys" to access the API key management page.
Part 2: Generating an API Key
- In the API Keys section, click on the "Create Key" button.
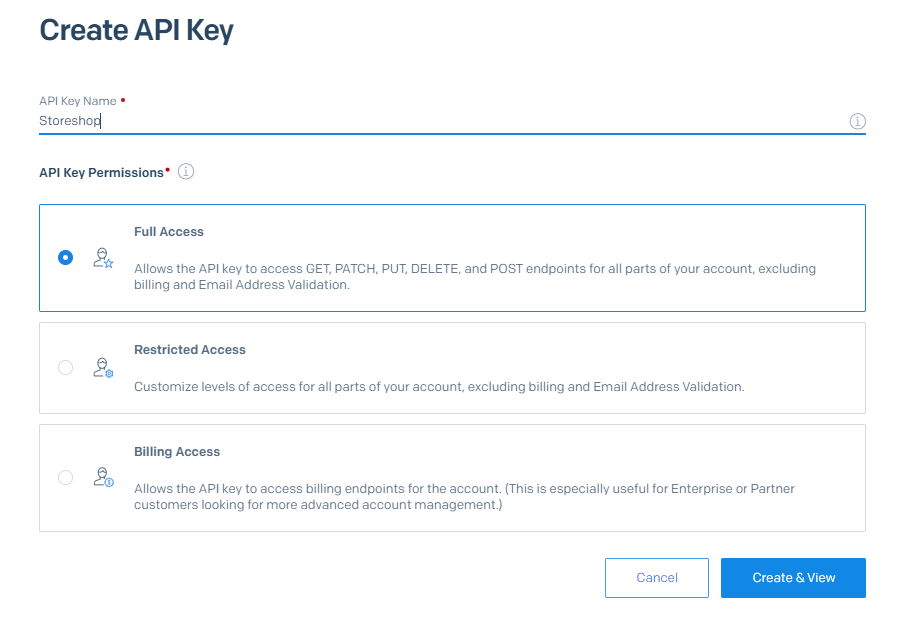
- Specify "Storeshop" as the API Key Name to easily identify its purpose.
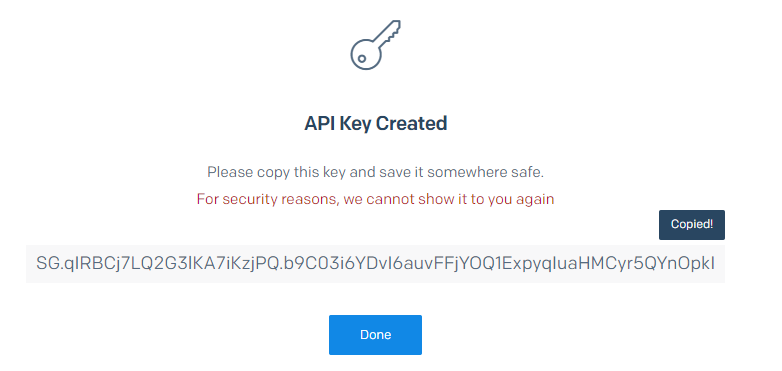
Part 3: Sharing the API Key
- Copy the generated API Key.
- Open your preferred email client and compose a new email to support@storeshop.no.
- Paste the API Key into the email and send it to support@storeshop.no for further assistance.