Are you ready to organize your webshop like a pro? With categories, you can create a structured and delightful shopping experience for your customers. Let's dive in and master the art of categorization!
Step 1: Navigate to the categories
To start, head over to the menu bar and seek out the "Products" section. Next locate and click on "Categories."
Step 2: Add a new category
In the category section, you have the power to create new categories on your own. Spot the enchanting "Add Category" button? Give it a click to add a brand new category.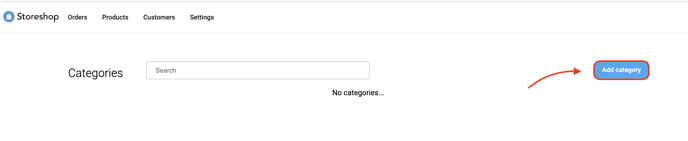
Step 3: Title and Image - The Keys to Captivation
Every category needs a captivating title that entices customers and makes navigation a breeze. Enter a descriptive title that reflects the products it encompasses. But why stop there? Add an image to elevate your category's appeal! Aim for an image size of 470 x 350px to ensure a visually stunning display.
Step 4: Add products
A category without products is like a knight without a sword. Fear not, for you can assemble a formidable army of products within each category. Look for the "Add New Products to the Category" option, and search up each product.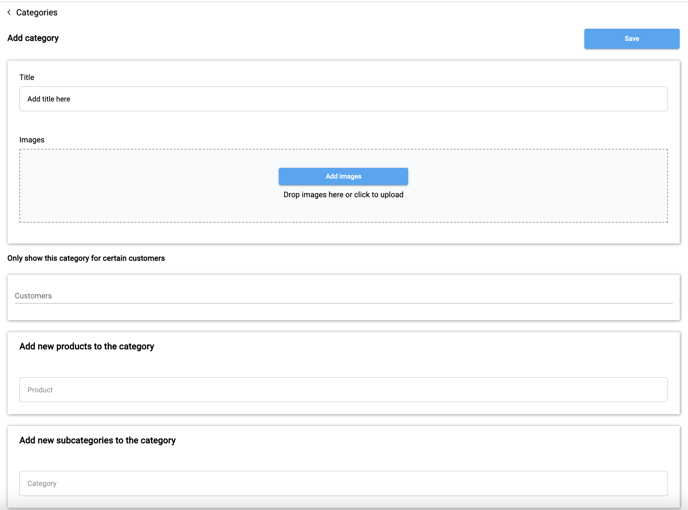
Step 5: Subcategories
To use subcategories, simply add them under the heading "Add new subcategories to the category". If you have not created the subcategory, then create a category first and then go back to adding it as a subcategory.