In order to showcase your carefully curated categories on your website, it's essential to create an appealing and user-friendly product menu. Follow these steps to craft a professional and engaging product menu.
Step 1: Accessing the Product Menu
Start by navigating to the menu bar and selecting the "Products" section. From there, choose the "Product Menu" option. This will take you to the configuration area where you can shape and customize your product menu.
Step 2: Adding Categories to the Product Menu
To populate your product menu with the desired categories, locate the "Add Category" button positioned in the bottom left corner of the interface. Click on it to initiate the category addition process. Enter the name of the main category you wish to include.
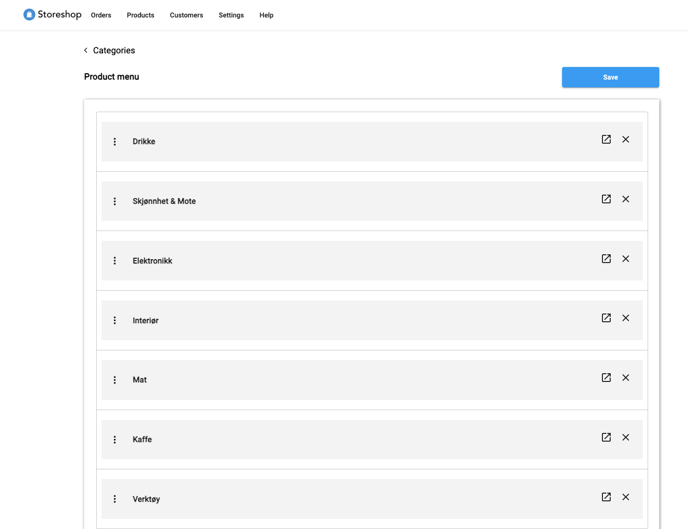
Step 3: Arranging Categories in the Desired Order
Organize the categories within your product menu to provide a logical and intuitive browsing experience. Use the drag-and-drop functionality to reorder the categories as desired, ensuring that they align with your webshop's structure and hierarchy.
Step 4: Showcasing the Product Menu
After arranging your product menu, navigate to your webshop's product page. You can do this by clicking "Visit Shop" in the right corner of the control panel. Observe how the categories you added, along with their associated products, are now displayed for your customers to explore and interact with.