This article explains how to add "selected products" in a gallery on your front page.
- Go to your Storeshop control panel.
This can be accessed by entering your store domain followed by /storeshop.
E.g. "demoshop.no/storeshop." - In the control panel, go to "Settings" --> "Site builder".
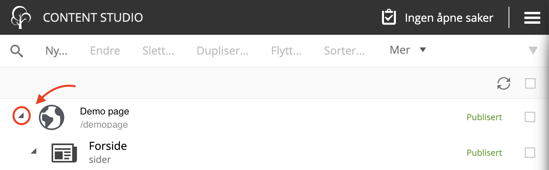
- Click the arrow next to the earth icon to reveal the sub pages.
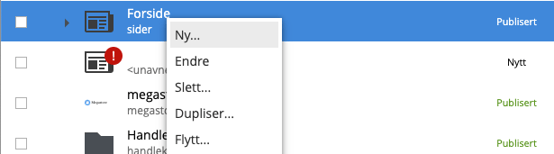
- Right click on Forside and click "Ny..."
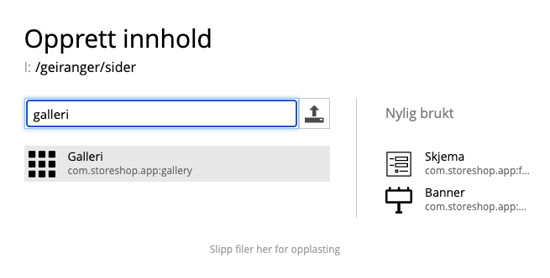
- In the search bar, type "Galleri" and click it.
- It is important to give the gallery a name at the top under "<Visningsnavn>".
E.g. "Selected products". - Add a title for your gallery and add images and description to your products.
Under "lenke" you should add the link to the product. That way, the customer can click the image and be directed to the product.
8. Go back to the first site builder page, and double click on "Forside".
Scroll down until you see the "innhold" box:
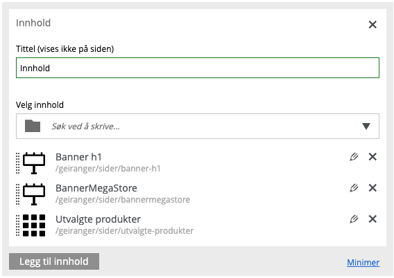
9. In the field "Søk ved å skrive..." you search for the name you saved your gallery under, and click it. Drag and drop to edit the order you want to appear on the site.
10. Publish the changes. It should now be visible on your webshop.
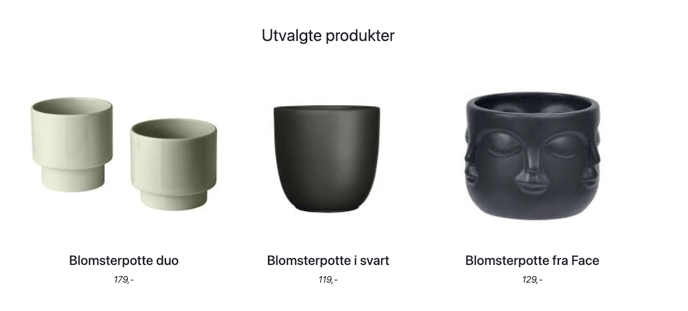
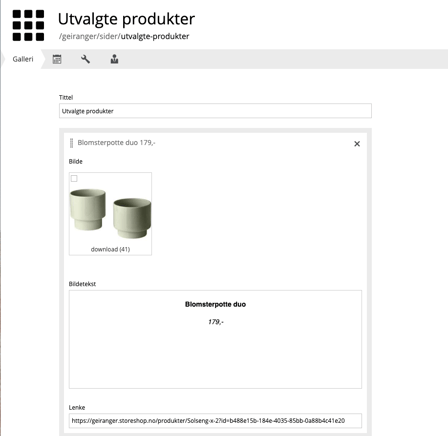
This is an example on how it could look: