A step-by-step guide on how to set up your business in Storeshop.
Inviting customers
Effectively inviting customers to your webshop is a crucial step for fostering engagement. Follow these instructions to professionally invite customers, allowing them to create their own accounts and access your webshop.
Step 1: Accessing the Customer Area
Begin by navigating to the menu bar and selecting the "Customers" section. From there, choose the "All Customers" option. This will grant you access to the customer management area, where you can initiate the invitation process.
Step 2: Entering Customer Details
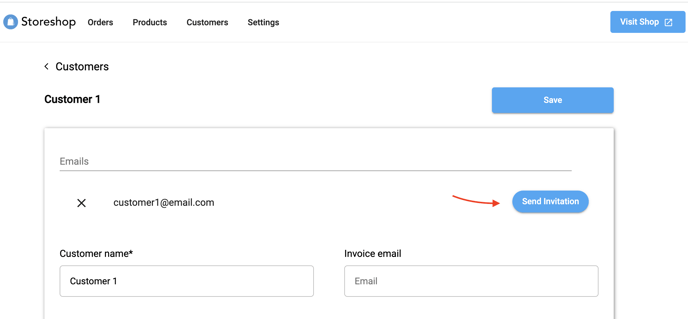
To invite a customer, enter their email address into the designated field. Once entered, press the "Enter" button on your keyboard to proceed. Following this, enter the customer's name in the appropriate field.
Step 3: Saving Customer Information
After entering the customer's name, click the "Save" button to store the details. This action will confirm the addition of the customer to your webshop's database, setting the stage for the invitation process.
Step 4: Sending the Invitation
With the customer's information saved, you will be presented with an option to "Send Invitation." Click this button to trigger the sending of an email to the customer. The email serves as an invitation, prompting the recipient to create a unique username and password for their webshop account.
Create Customer Discounts
Enhance customer satisfaction and loyalty by offering targeted discounts through your webshop. Follow these steps to create customer discounts that cater to specific customer groups, categories, or individual products.
Step 1: Accessing Customer Management
Begin by navigating to the menu bar and selecting "Customers." From the dropdown menu, choose "All Customers." This will direct you to the customer management area, where you can configure discounts tailored to specific customers or customer groups.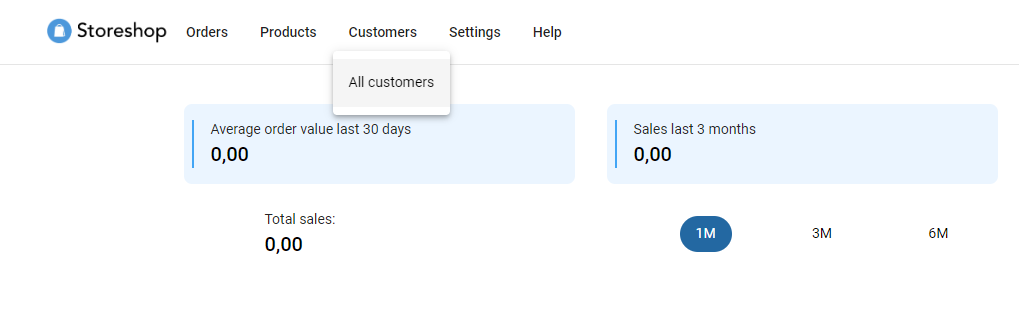
Step 2: Selecting the Customer or Customer Group
Identify the customer or customer group for whom you wish to create discounts. Click on the respective customer or customer group to access their individual settings. (For guidance on creating customer groups, see section 8.)
Step 3: Defining the Discount Type
Scroll down within the customer settings until you reach the discount section. Here, you can add the desired discount type based on your specific objectives. You have the flexibility to create a flat discount for the entire online store, discounts for specific categories, or discounts applied to individual products.
a) Flat Discount: To apply a flat discount across all products, input the desired percentage under "Discount for all products." This percentage will be deducted from the original price during the checkout process.

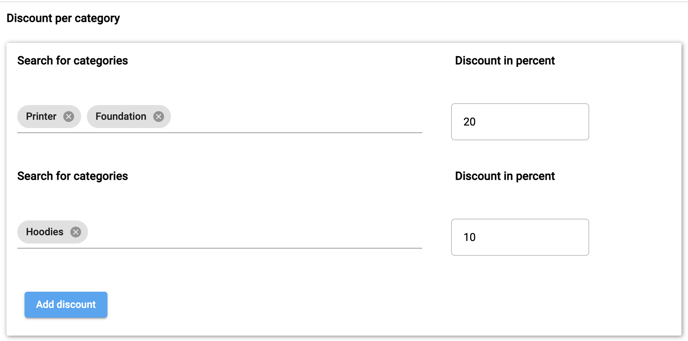
b) Discount per Category: To offer category-specific discounts, navigate to "Discount per category." You can add multiple categories and assign individual discount percentages. If multiple categories share the same discount percentage, you can add them to the same line, streamlining the discount setup.
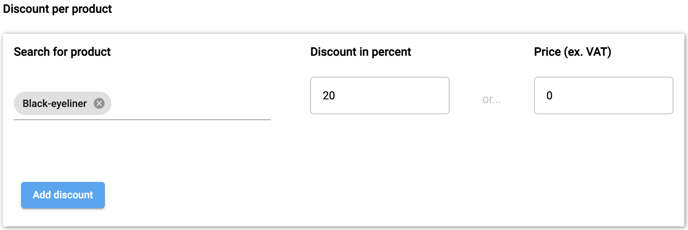
c) Discount per Product: To provide discounts on specific products, explore the "Discount per product" section. Here, you can set percentage-based or unit-based discounts for individual products.
Create customer groups
Efficiently manage and apply discount structures across multiple customers by organizing them into customer groups. Follow these steps to create customer groups that streamline the administration of discounts and ensure uniformity in pricing.
Step 1: Accessing Customer Management
To begin, navigate to the menu bar and select "Customers." From the dropdown menu, choose "All Customers." This will direct you to the customer area, where you can create and manage customer groups.
Step 2: Adding a New Customer Group
To establish a customer group, start by adding a new customer to serve as the group representative. Enter a name that reflects the group's identity or purpose, such as "Customer Group A." This customer entry will serve as the placeholder for the entire group.
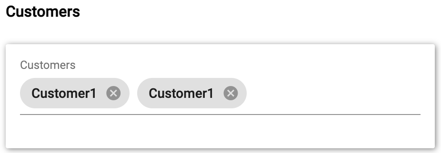
Step 3: Assigning Customers to the Group
Scroll down to the "Customers" field and begin adding the customers you wish to include in the customer group. Use the search functionality to easily locate and add the desired customers. By associating multiple customers with the same group, you establish a unified framework for applying discounts.
Step 4: Uniform Discounts for the Customer Group
Once you have assembled the customer group, any discounts defined for the group will be uniformly applied to all members. This ensures consistency in discount structures and simplifies discount management for customers sharing the same pricing arrangements.
Step 5: Managing Customer Groups
To make adjustments or modifications to a customer group, simply access the customer management area and locate the group in question. From there, you can update the group's composition by adding or removing customers as needed.
Everything you need to know about integrations can be found in the "Integration" subcategory: Storeshop Integrations
For other helpful articles or FAQ's, click HERE.